 Save to Pinterest
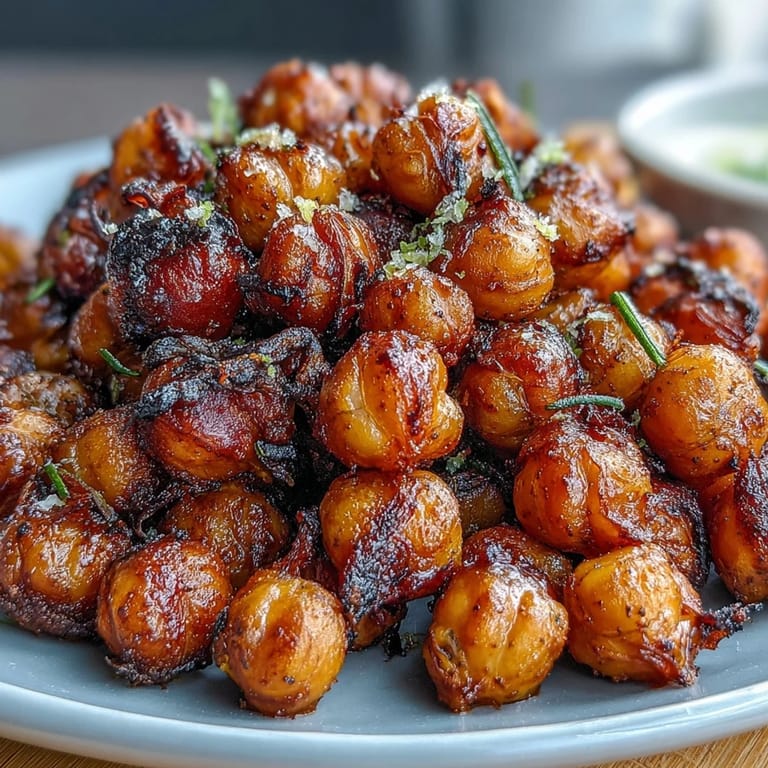
 There's something almost magical about the moment crispy chickpeas emerge from the oven, their exteriors shattering between your teeth while the kitchen fills with toasted, nutty warmth. I discovered this snack by accident, really—I'd been tossing a can of chickpeas with olive oil and salt one afternoon, thinking I'd make hummus, when instead I decided to roast them on a whim. Thirty minutes later, my kitchen smelled like a Mediterranean café, and I couldn't stop eating them straight off the cooling sheet. Now they've become my default answer to "what can I bring?" at potlucks, or my 3 p.m. reach-in-the-pantry moment when I need something that feels indulgent but actually fuels me.
I made these for a potluck last fall and brought them in a mason jar with a little chalkboard label—partly to look fancy, partly because I was genuinely proud. Someone at the party asked if they were homemade and seemed shocked when I said yes, as if something this crispy and flavorful must have come from a specialty store. That moment taught me that simple ingredients handled well feel like a gift, and now whenever I roast a batch, I'm cooking not just for myself but for that feeling of someone discovering something unexpectedly delicious.
Ingredients
- Chickpeas: Use canned for convenience, but make sure you rinse and drain them thoroughly—this step is everything, because any cling of brine will steam them instead of crisping them.
- Olive oil: Two tablespoons might sound modest, but it's the exact amount needed to coat without creating greasy pockets; I learned this by accidentally doubling it once and regretting it halfway through eating.
- Fine sea salt: The granule size matters here—fine salt adheres to the chickpeas where coarse salt would just roll off, leaving some bites bland.
- Smoked paprika: This spice carries a gentle campfire quality that makes the roasted chickpeas taste even deeper and more complex than they already are.
- Ground cumin, garlic powder: Together these create an almost savory undertone that makes you reach for another handful without quite knowing why.
- Chili powder, lime zest, cayenne: The trio transforms chickpeas into something bright and heat-forward, and the lime zest adds a freshness that cuts through the richness beautifully.
Tired of Takeout? 🥡
Get 10 meals you can make faster than delivery arrives. Seriously.
One email. No spam. Unsubscribe anytime.
Instructions
- Heat your oven and prep your stage:
- Set the oven to 400°F and line a baking sheet with parchment paper, which keeps cleanup easy and prevents sticking.
- Dry those chickpeas like your life depends on it:
- Use a clean kitchen towel and pat each batch thoroughly—moisture is the enemy of crispiness, and this is the single most important step. It feels tedious but transforms the outcome entirely.
- Coat with oil evenly:
- Spread the dried chickpeas on the baking sheet, drizzle with olive oil, and toss gently but thoroughly so every piece gets a light kiss of oil.
- First roast:
- Bake for 25 to 30 minutes, shaking the pan halfway through so they brown evenly on all sides and develop that golden, crispy shell you're after.
- Taste, then season while warm:
- Remove them from the oven and choose your flavor path—toss immediately with whichever seasoning blend calls to you, because the warmth helps the spices adhere.
- Optional extra crisping:
- If you want them even crunchier, return them to the oven for five more minutes, which deepens the texture and flavor.
- Cool completely before storing:
- Spread them on a clean surface or leave them on the baking sheet until they reach room temperature, which locks in their crispiness as they cool.
 Save to Pinterest
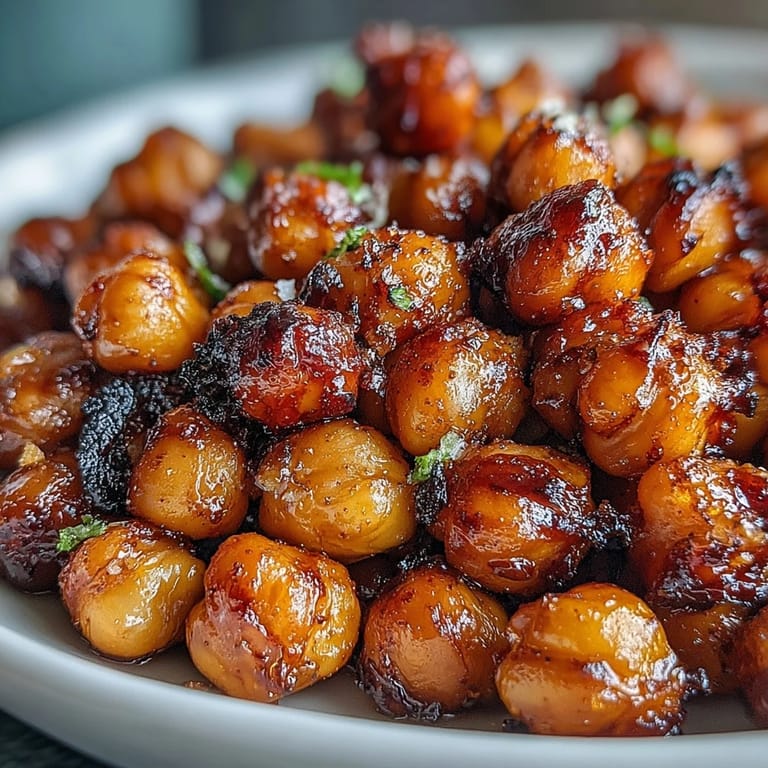
 My niece once asked why these chickpeas tasted "fancy" when I'd just roasted canned chickpeas in my regular oven, and I realized that care—not complexity—is what makes food feel special. There's something grounding about handing someone a snack you've made, especially when it's this good and this honest.
Flavor Variations to Explore
While the three variations in this recipe are genuinely excellent, the beauty of roasted chickpeas is their flexibility with seasoning. I've experimented with curry powder and a pinch of turmeric for something warming and slightly golden, ranch seasoning mix for a savory-umami punch that feels almost addictive, and lemon pepper for something bright and herbaceous. The base method stays the same—it's just the finishing spices that shift—which means once you nail the roasting technique, you can play endlessly with flavor.
Storage and Keeping Them Crispy
Crispy chickpeas are best enjoyed within a day or two of making them, as they gradually absorb moisture from the air and soften. However, they store beautifully in an airtight container, and if they do lose their snap, simply spread them on a baking sheet and warm them in a 300°F oven for five to ten minutes to restore that satisfying crunch. I've found this reheating method works surprisingly well—it's like giving them a second life, which means you don't have to eat an entire batch in one sitting if you're not in the mood.
Beyond Snacking: How to Use Them
These chickpeas shine as a salad topper, adding textural contrast and protein to anything from a simple green salad to a hearty grain bowl. They work beautifully as a garnish for soups, especially creamy ones where their crispiness becomes a delightful surprise against the smooth background. I've even crumbled them over roasted vegetables, stirred them into yogurt bowls, or scattered them on avocado toast for a moment of crunch that makes the whole bite more interesting.
- Try crushing a handful and sprinkling over hummus with a drizzle of good olive oil for an easy appetizer.
- Layer them into grain bowls with roasted vegetables and a tahini dressing for substance and texture in every bite.
- Keep a jar in the pantry for moments when you need a snack that feels substantial but won't derail your evening.
 Save to Pinterest
 This recipe has become my go-to proof that some of the best things in the kitchen come from simplicity and attention to small details. Make these when you need a reminder that good food doesn't have to be complicated to be genuinely, deeply satisfying.
Recipe Questions & Answers
- → How do I achieve maximum crispiness with baked chickpeas?
Dry the chickpeas thoroughly before baking to remove excess moisture. Bake at a high temperature and shake the pan halfway through to ensure even crisping.
- → Can I customize the seasoning flavors?
Yes, beyond the three suggested seasoning blends, you can experiment with curry powder, ranch mix, or lemon pepper for different flavor profiles.
- → What is the best way to store baked chickpeas?
Allow chickpeas to cool completely, then store them in an airtight container to maintain their crunch. Re-crisp in the oven if they soften over time.
- → Are these chickpeas suitable for special diets?
These baked chickpeas are vegan, gluten-free, and dairy-free. However, check your spice blends for any hidden allergens if necessary.
- → How long does it take to prepare and bake these chickpeas?
Preparation takes about 10 minutes, and baking requires roughly 35 minutes for a total time of 45 minutes to achieve optimal texture.