 Save to Pinterest
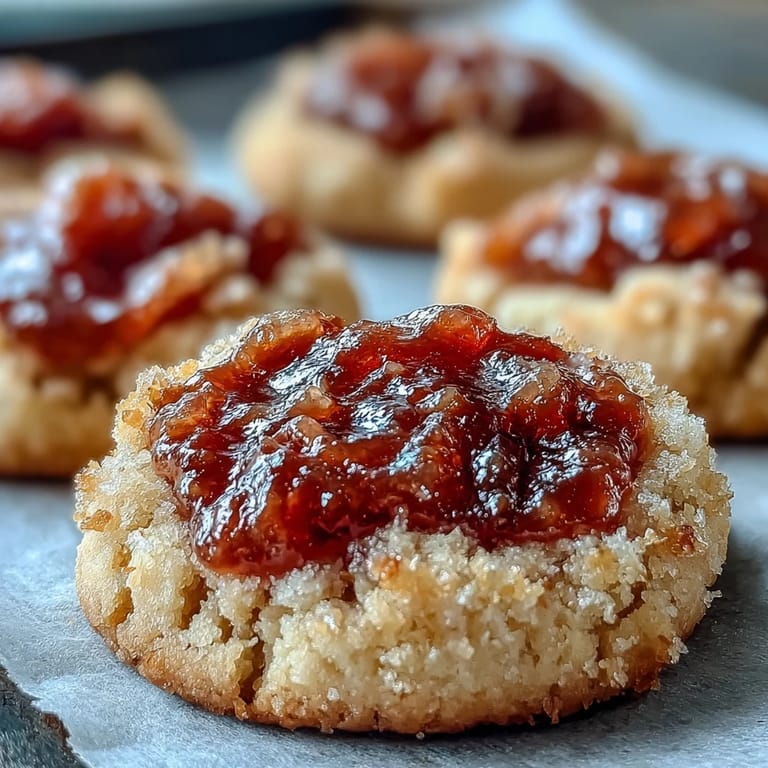
 My neighbor Maria showed up one afternoon with a jar of homemade guava jam, still warm from her kitchen, and insisted I do something interesting with it. I'd been meaning to bake something that felt both simple and special, and those thumbprint cookies seemed like the perfect answer. The moment I pressed my thumb into that first ball of dough and watched the jam nestle into the indent, I knew this was going to become a regular thing in my house. There's something about the sweet-tart contrast that just works, like finding the perfect balance between comfort and surprise.
I brought a batch to my book club once, and everyone kept reaching for seconds without even realizing it. One of my friends asked if they were store-bought, and when I said no, she got this look on her face like I'd just revealed some secret skill I'd been hiding. It wasn't complicated or fancy, just thoughtful, and somehow that mattered more.
Ingredients
- All-purpose flour: Two cups gives you the right structure without being heavy, and it lets the butter and sugar shine through without any competing flavors.
- Salt: Just a quarter teaspoon to make everything taste more like itself, even though you won't taste salt directly.
- Unsalted butter: Softened is the key word here, because cold butter won't cream properly with the sugar and you'll end up with dense, sad cookies instead of light, tender ones.
- Granulated sugar: Half a cup creates the right sweetness without making them cloying, which matters when the guava jam is already bringing its own sugar to the party.
- Egg: One large egg binds everything and adds richness that somehow makes people think you used more butter than you actually did.
- Vanilla extract: A teaspoon rounds out the flavor in a way that makes people say these taste familiar and comforting, even if they can't name why.
- Guava jam: About half a cup is the sweet spot, and don't be shy with it in each indent or you'll have sad little cookies with barely any flavor center.
Tired of Takeout? 🥡
Get 10 meals you can make faster than delivery arrives. Seriously.
One email. No spam. Unsubscribe anytime.
Instructions
- Preheat and prepare:
- Get your oven to 350°F and line two baking sheets with parchment paper, because trying to do this while the oven is heating will just add stress.
- Combine dry ingredients:
- Whisk together your flour and salt in a medium bowl and set it aside, making sure everything is mixed evenly so no salt pockets hide in your cookies.
- Cream butter and sugar:
- In a large bowl, beat softened butter and sugar together for about two to three minutes until the mixture looks pale and fluffy, like something between frosting and wet sand. This step is where the magic starts, because you're basically whipping air into the dough, which makes the cookies tender.
- Add egg and vanilla:
- Beat in your egg and vanilla extract until everything is completely combined and looks smooth, then stop so you don't overmix.
- Mix in flour:
- Gradually add your dry ingredients to the wet mixture, stirring until a soft dough just barely comes together, then stop immediately before you overwork the gluten.
- Shape the dough:
- Scoop tablespoon-sized balls of dough and roll them between your palms into smooth rounds, then place them about two inches apart on your prepared sheets because they'll spread slightly and you don't want them touching.
- Create the indent:
- Using your thumb or the back of a rounded teaspoon, gently press down into the center of each dough ball to create a little well, being careful not to press all the way through to the bottom.
- Fill with jam:
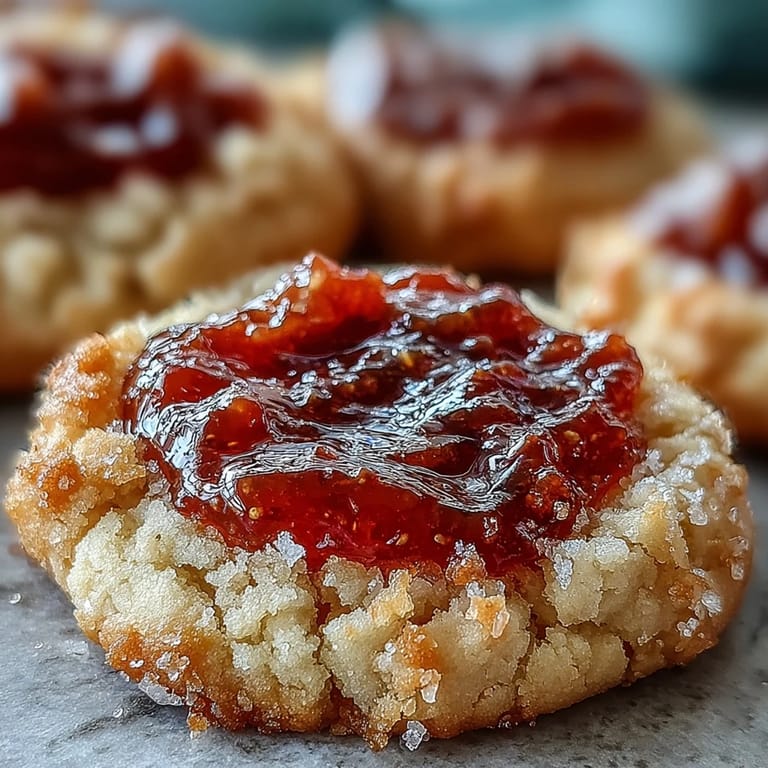
- Spoon about half a teaspoon of guava jam into each indent, and here's the thing: don't be stingy, because the jam will stay put and add real flavor, not just a tease of it.
- Bake until golden:
- Bake for thirteen to fifteen minutes, watching carefully until the edges turn just lightly golden while the centers stay pale and tender, because one extra minute can tip them from perfect to slightly overbaked.
- Cool and transfer:
- Let the cookies sit on the baking sheet for five minutes so they firm up enough to move without falling apart, then transfer them to a wire rack to cool completely.
 Save to Pinterest
 There was one afternoon when my daughter helped me make these, and she was so careful pressing each indent with her little thumb, treating every cookie like it was the most important thing in the world. We ended up with slightly uneven thumbprints, some deeper than others, some barely there, and they were somehow more beautiful because of it. That batch never made it to a party because we just kept eating them together at the kitchen counter, passing cookies back and forth like we were sharing secrets.
Why the Guava Matters
Guava jam isn't just decoration on top of these cookies, it's actually the whole reason to make them. The tartness cuts through the sweetness of the dough in a way that keeps your mouth interested, and it brings this tropical brightness that makes people pause and really taste what they're eating. If you've never used guava jam before, this is honestly a low-stakes way to experiment with it, because even if you're unsure, you're only committing to half a cup.
The Temperature Matters More Than You Think
I learned this the hard way after pulling a batch out early because I was impatient and they looked done to me. They weren't, and they fell apart the moment I tried to move them, and I felt ridiculous eating broken cookie chunks. Now I set a timer and trust it, and honestly, these cookies reward that patience because they bake so quickly that thirteen minutes really does make a difference from twelve and a half minutes.
Storage and Keeping Them Fresh
These cookies stay soft and good for almost a week if you store them right, which is basically a miracle in cookie terms. I keep mine in an airtight container at room temperature, and they somehow stay fresh longer than any other cookie I've made, probably because of the moisture from the jam. The best part is you can make them on a Sunday and still have fresh cookies for grabbing all week without needing to bake again.
- An airtight container is non-negotiable if you want them lasting more than two days.
- If you end up with leftovers that have gone slightly stale, a quick five-second microwave blast brings back some softness.
- You can actually freeze the baked cookies for up to two months, which means you can make a double batch and forget about baking for a while.
 Save to Pinterest
 These cookies turned into one of those recipes I make without even thinking about it anymore, the kind where I don't need to check the measurements because my hands just know. That's when you know a recipe belongs in your regular rotation, when it becomes as natural as making coffee in the morning.
Recipe Questions & Answers
- → Can I use a different fruit jam?
Absolutely. Raspberry, apricot, strawberry, or even lemon curd work beautifully as substitutes. The buttery cookie base pairs well with most fruit preserves.
- → How do I prevent the jam from overflowing?
Fill each indentation with only about 1/2 teaspoon of jam. Avoid overfilling, and the jam will stay contained during baking. The indentation should be deep enough to hold the filling.
- → Can I freeze the dough?
Yes, scoop the dough balls and freeze them on a baking sheet before transferring to a freezer bag. When ready to bake, let them thaw slightly, make the indentations, add jam, and bake as directed.
- → Why did my cookies spread too much?
This usually happens if the dough is too warm or the butter was overly soft. Chill the dough for 15-20 minutes before rolling and baking to help them hold their shape.
- → How should I store these cookies?
Keep them in an airtight container at room temperature for up to 5 days. Place parchment paper between layers to prevent sticking. For longer storage, freeze unfilled cookies and add jam after thawing.
- → Can I make these dairy-free?
Yes, substitute the butter with a plant-based butter stick or margarine. The texture and flavor will remain similar, though the richness may vary slightly depending on your butter alternative.