 Save to Pinterest
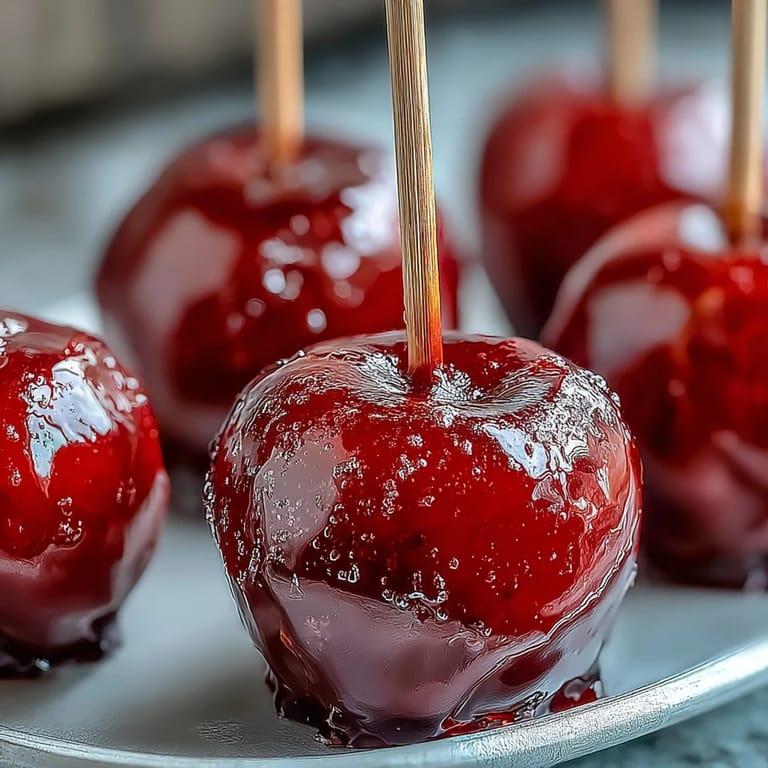
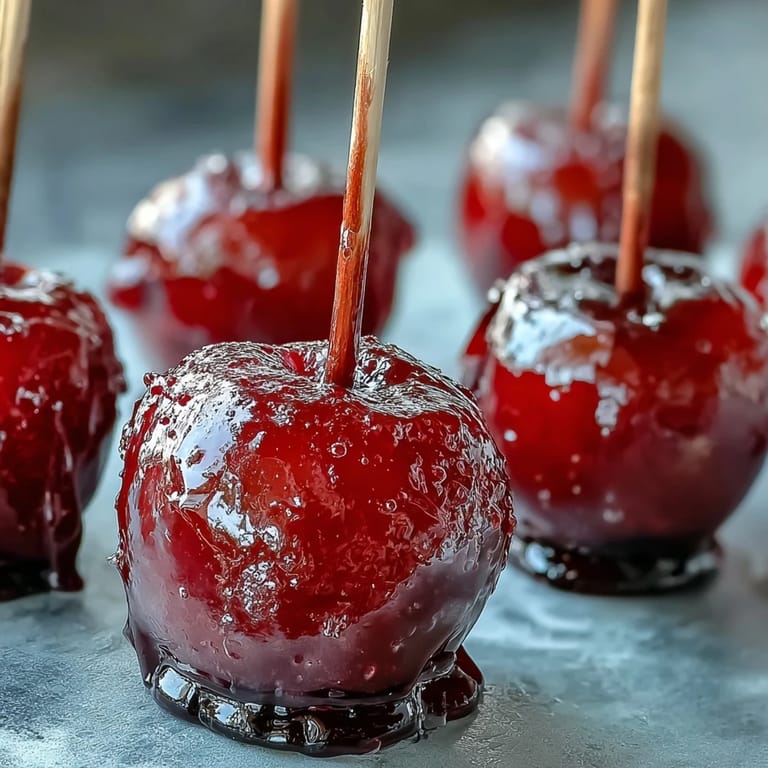
 My daughter came home from school talking about the candy apples she'd seen at the fall festival, and I could see the wonder in her eyes as she described that glossy red coating catching the afternoon light. I'd never made them before, but something about her excitement made me want to try—and honestly, the first batch was pure magic. There's something almost alchemical about watching plain sugar transform into this jewel-like shell right before your eyes. What started as a simple weekend project has become our go-to treat whenever we want to feel a little fancy without much fuss.
I still think about making these for my nephew's birthday party last spring, watching his little friends' faces light up as they picked one off the cooling rack. One kid immediately declared it "fancier than ice cream," which honestly felt like winning an award. We ended up making two batches because they disappeared faster than I could arrange them, and somehow that made the whole thing feel like it mattered more than it probably should have.
Ingredients
- Small apples (Gala, Fuji, or crabapples): The smaller varieties work best because they're easier for little hands to hold and dip faster before the candy cools, plus they look adorable on a stick.
- Granulated sugar: This is the backbone of your candy shell—it needs to be the fine stuff because it dissolves more evenly and gives you that smooth, glossy finish.
- Light corn syrup: This prevents crystallization and keeps your candy from turning grainy, which sounds technical but basically means it stays shiny and beautiful.
- Water: Just enough to get everything moving before the heat does its work—too much and you'll be cooking forever, too little and you'll have a clumpy mess.
- Red gel food coloring: Gel is non-negotiable here because liquid coloring can make your candy coating watery and ruin the whole texture, trust me on this one.
- Wooden sticks: These need to be food-safe and sturdy enough not to bend under the weight of the apple and candy—flimsy sticks will embarrass you halfway through serving.
Tired of Takeout? 🥡
Get 10 meals you can make faster than delivery arrives. Seriously.
One email. No spam. Unsubscribe anytime.
Instructions
- Get Your Apples Party-Ready:
- Wash and pat your apples completely dry—any moisture is the enemy of a good candy coating. If you're using the bigger apples, slice them in half and gently scoop out the center with a melon baller, then push your stick in firmly where the stem was, angling slightly so it stays put.
- Prepare Your Landing Zone:
- Line a baking sheet with parchment paper and give it a light spray of nonstick coating, or use a silicone mat—this is where your finished apples will sit and cool, and you don't want them sticking.
- Build Your Candy Base:
- Pour sugar, corn syrup, and water into a medium saucepan and stir it over medium heat, watching until all those grainy sugar crystals dissolve into a clear liquid. This takes patience, but it's worth it.
- Cook Until It Sings:
- Turn the heat up to high and let it boil without touching it—I know this is hard, but stirring now will ruin everything. Once you see a candy thermometer hit 290°F, you're at hard crack stage and you're ready to move.
- Add the Color:
- Pull the pan off the heat and carefully stir in your gel food coloring, making sure it's evenly distributed so you don't end up with streaky apples. Work quickly here because the mixture is still hot and starting to thicken.
- Dip Like You Mean It:
- Working fast because the candy is cooling as you go, grab an apple by its stick and plunge it into the hot coating with a quick swirl, letting the excess drip off before you set it on your prepared sheet. You'll get faster with each one, I promise.
- The Hardest Part—Waiting:
- Let everything cool completely at room temperature for about 10 minutes, and yes, this is torture, but the candy needs time to harden into that satisfying crunch.
 Save to Pinterest
 There was this moment, standing in my kitchen with my hands covered in candy residue and my daughter licking red off her fingers, when I realized this wasn't really about making a fancy treat—it was about the whole ridiculous, sticky, perfect mess of doing something together. The fact that they actually turned out beautiful felt like a bonus.
Dress Them Up
The real magic happens when you get creative with the coating before it hardens. While the candy is still wet and sticky, you can roll your apples in sprinkles, crushed cookies, mini chocolate chips, or even edible glitter—just dip the apple, let it drip for a second, then immediately roll it in whatever you've chosen and set it on the sheet. I've found that keeping small bowls of decorations prepped before you even start cooking means you won't waste precious time fumbling around while everything hardens.
Temperature Matters More Than You Think
Hitting exactly 290°F isn't just a number—it's the difference between a candy shell that cracks satisfyingly when you bite into it and one that's either too soft and chewy or so hard it's like cracking your teeth. If you don't have a candy thermometer, honestly just buy one because eyeballing it will lead to disappointment every single time. I learned this after two failed batches where I thought I could tell by looking at it, and I was spectacularly wrong both times.
Storage and Serving Secrets
These are best eaten the same day you make them, while the candy coating is still at peak crunchiness and hasn't started to weep from humidity in the air. Store them at room temperature on a flat surface, never in the refrigerator because the cold makes the candy shell go sticky and sad, which defeats the entire purpose of making them.
- Keep them away from heat and direct sunlight or the coating will start to soften and lose its shine.
- If you're making them ahead for a party, assemble them no more than a few hours before serving for the best results.
- Individual parchment paper squares between layers help if you need to stack them for storage, though they're so pretty you'll probably just want to display them.
 Save to Pinterest
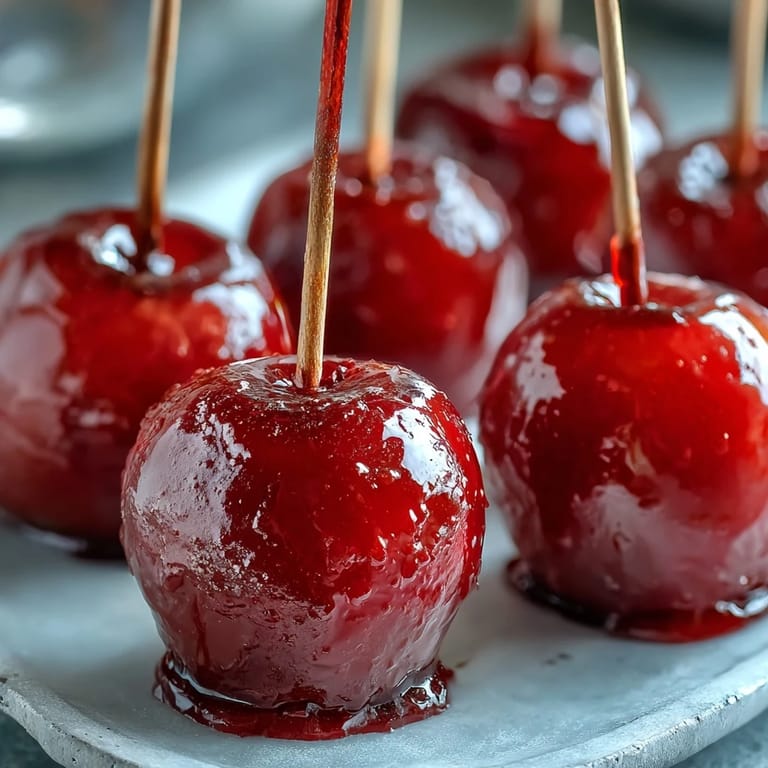
 There's something about homemade candy apples that turns an ordinary afternoon into something memorable, like you've just pulled off a small kitchen miracle. Make them and watch people's faces—it never gets old.
Recipe Questions & Answers
- → What types of apples work best for mini candy apples?
Small apples like Gala or Fuji are ideal for their crisp texture and sweetness. Crabapples can be used for bite-sized portions.
- → How do I know when the candy coating is ready?
The syrup should reach the hard crack stage, about 290°F (143°C), for a shiny, brittle shell once cooled.
- → Can I add different colors to the candy coating?
Yes, gel food coloring can be added to create various vibrant hues without affecting the texture.
- → How do I prevent the candy from sticking after coating the apples?
Let the coated apples cool at room temperature on parchment paper or a silicone mat to allow the coating to harden properly.
- → Are there fun variations to decorate the candy apples?
Dipping the freshly coated apples into sprinkles, crushed cookies, or mini chocolate chips adds texture and festive flair.
- → What precautions are necessary when working with hot candy syrup?
Handle the hot syrup carefully to avoid burns and supervise children during preparation, as the syrup reaches very high temperatures.