 Save to Pinterest
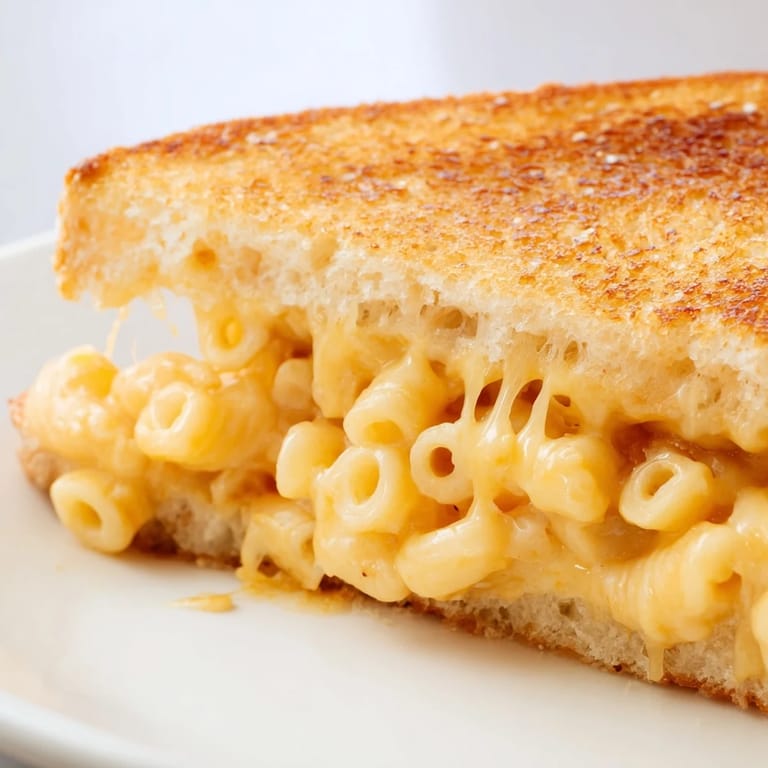
 The skillet was hissing, butter pooling at the edges, when I realized I'd accidentally made too much mac and cheese for dinner. My roommate glanced at the pot, then at the loaf of sourdough on the counter, and said, "What if we just… put it in a grilled cheese?" It sounded ridiculous and genius at the same time. Twenty minutes later, we were biting into something so indulgent and over-the-top that we couldn't stop laughing between bites.
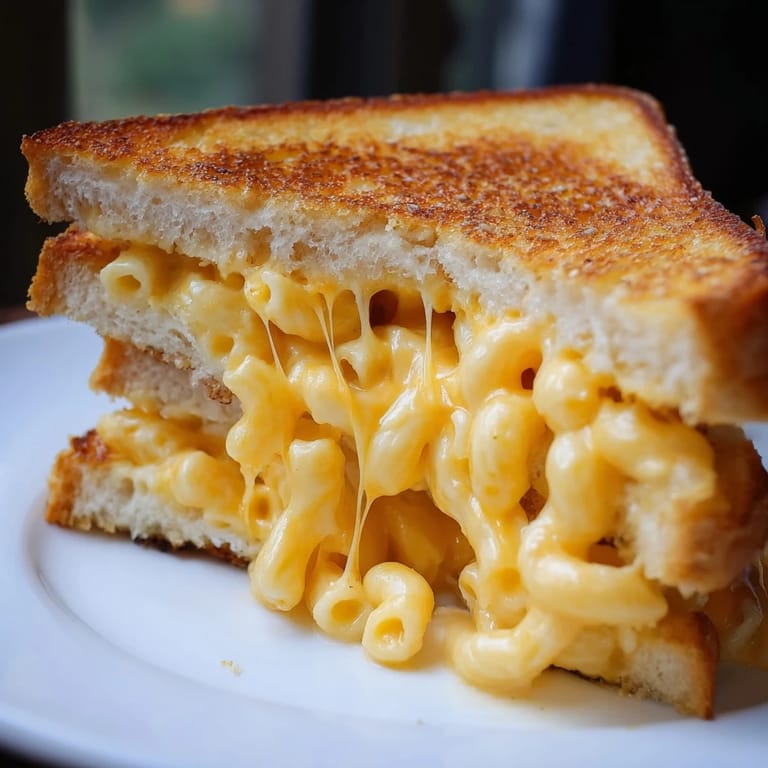
I made these for a lazy Sunday lunch after a morning hike, and they disappeared so fast I barely got a photo. My friend kept pulling the sandwich apart just to watch the cheese stretch, grinning like a kid. We ate them standing over the stove, too hungry to bother with plates. That's the kind of meal this is, no fuss, no formality, just pure comfort in your hands.
Ingredients
- Elbow macaroni: The small tubes hold onto the cheese sauce beautifully, and they don't make the sandwich too bulky.
- Sharp cheddar cheese: The sharper the cheddar, the more flavor you get in every bite, I learned this after a bland batch with mild cheese.
- Unsalted butter: You'll use this twice, once in the sauce and once on the bread, so keep it soft and ready.
- Whole milk: It makes the sauce silky and rich without being too heavy.
- Sourdough or sandwich bread: Sourdough adds a tangy depth, but any sturdy bread that won't fall apart works perfectly.
- Optional cheese slices: Adding a slice of cheddar or American between the mac and bread creates an extra gooey layer that melts into the pasta.
Tired of Takeout? 🥡
Get 10 meals you can make faster than delivery arrives. Seriously.
One email. No spam. Unsubscribe anytime.
Instructions
- Cook the macaroni:
- Boil the pasta in salted water until it's just tender with a slight bite, around 7 to 8 minutes. Drain it well so you don't end up with a watery sauce.
- Make the cheese sauce:
- Melt butter in the same pot, then stir in the drained pasta, milk, shredded cheddar, and pepper until it's smooth and creamy. Let it cool for a few minutes so it thickens enough to stay put in the sandwich.
- Assemble the sandwiches:
- Butter one side of each bread slice, then pile about a quarter cup of mac and cheese on the unbuttered side. Add a cheese slice if you want extra melt, then top with another slice of bread, buttered side out.
- Cook the sandwiches:
- Heat your skillet over medium and place the sandwiches in, pressing gently with a spatula. Cook 3 to 4 minutes per side until the bread is golden and crisp and the inside is hot and gooey.
- Rest and serve:
- Let the sandwiches sit for a minute or two before slicing so the cheese sets just enough to not spill everywhere. Serve them hot and watch them vanish.
 Save to Pinterest
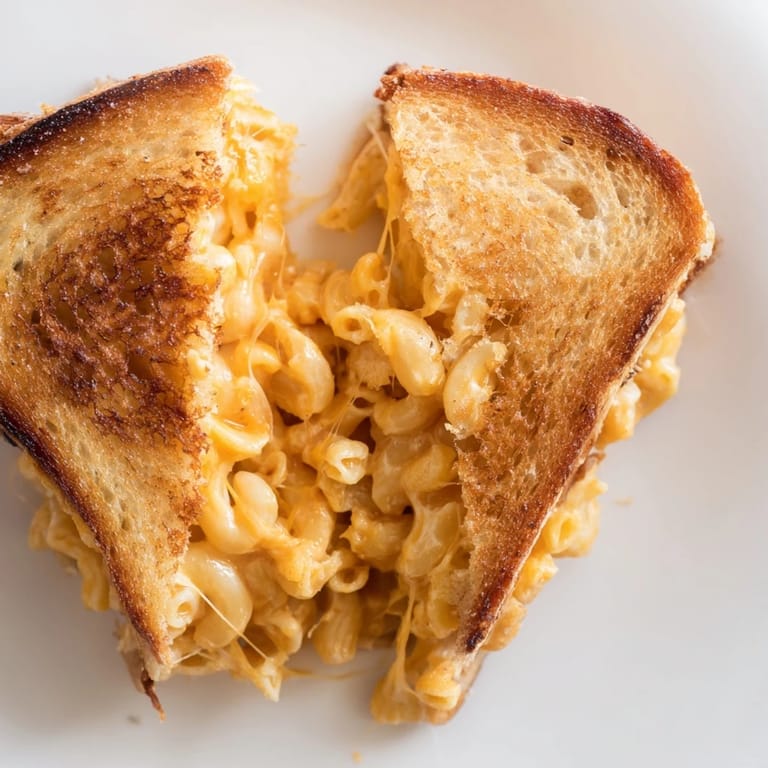
 I brought these to a potluck once, cut into halves and stacked on a platter, and people kept asking what they were before trying them. After the first bite, the questions stopped and the plate emptied. Someone told me later it reminded them of being a kid again, and I think that's exactly what comfort food should do.
Making It Your Own
I've stirred in crispy bacon bits and chopped chives before assembling, and it added a smoky, fresh layer that made the sandwich feel almost fancy. A thin slice of tomato tucked inside brings a little acidity that cuts through the richness. If you like heat, a few dashes of hot sauce mixed into the mac or drizzled inside the sandwich gives it a nice kick without overwhelming the cheese.
Pairing and Serving
These sandwiches are incredible next to a bowl of tomato soup, the kind of pairing that feels like a hug on a cold day. I've also served them with a simple green salad dressed in lemon vinaigrette to balance the richness. If you're feeding a crowd, cut them into quarters and serve them as an appetizer, they'll disappear faster than you'd expect.
Storage and Reheating
Leftover sandwiches can be wrapped in foil and stored in the fridge for up to two days, though they're never quite as crispy. Reheat them in a skillet over medium-low heat to bring back some of that crunch, or pop them in a toaster oven. The mac and cheese itself keeps well for three days, so you can make it ahead and assemble sandwiches fresh whenever the craving hits.
- Store assembled but uncooked sandwiches wrapped tightly in the fridge for up to 12 hours before cooking.
- Freeze extra mac and cheese in portions so you can make these on a whim.
- Use day-old bread for even crispier results, it absorbs butter without getting soggy.
 Save to Pinterest
 This sandwich is proof that some of the best recipes come from happy accidents and a little bit of audacity. Make it once, and it'll become your go-to whenever you need comfort in a hurry.
Recipe Questions & Answers
- → Can I use store-bought macaroni and cheese?
Yes, absolutely. Using leftover or prepared macaroni and cheese saves time. Simply skip the cooking steps and use about 1 cup of your prepared mac and cheese for the filling.
- → What bread works best for this sandwich?
Sourdough provides excellent flavor and structure, but brioche, pullman, or thick-cut sandwich bread also work wonderfully. Avoid thin bread that may become soggy from the creamy filling.
- → How do I prevent the filling from leaking out?
Let the mac and cheese cool slightly so it thickens before assembling. Don't overfill each sandwich—about 1/4 cup per sandwich is ideal. Press gently while cooking rather than firmly.
- → Can I make this ahead and reheat?
You can prepare the mac and cheese several hours ahead. Assemble and cook the sandwiches fresh just before serving for the best texture and melted cheese effect.
- → What sides pair well with this sandwich?
Tomato soup is a classic pairing. Pickled vegetables, coleslaw, or fresh greens provide nice contrast to the richness. A simple salad with vinaigrette also complements well.
- → How can I add more flavor to the mac and cheese filling?
Stir in crispy bacon bits, sautéed mushrooms, caramelized onions, or fresh chives. A pinch of smoked paprika, garlic powder, or cayenne pepper adds depth without overwhelming the cheese flavor.